Most printers feature different kinds of connectivity options, but the question is how to use them. If you purchased a new business printer but are unsure how to connect it to your printer, Windows 10, or Mac computer, You should use this guide!
Add A Printer to Windows 10
After a fast setup, installing a printer in Windows 10 is a simple process that allows you to start printing right away. Here are some examples of how to add a new printer in Windows 10 in a few different methods.
Manually Connect a Printer to Windows 10
You will likely need to set up your printer manually if your Windows 10 computer does not recognize it initially. To continue, adhere to the procedures below:
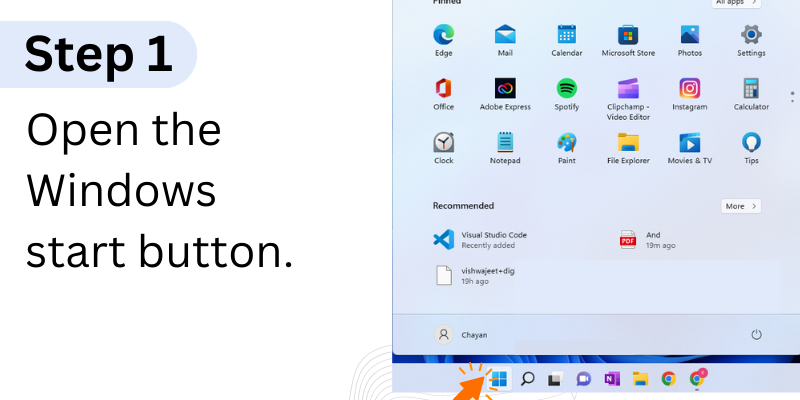
- Open the Windows start button.
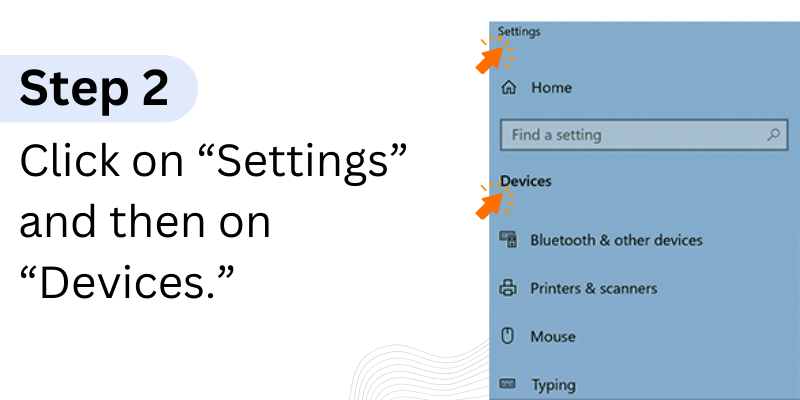
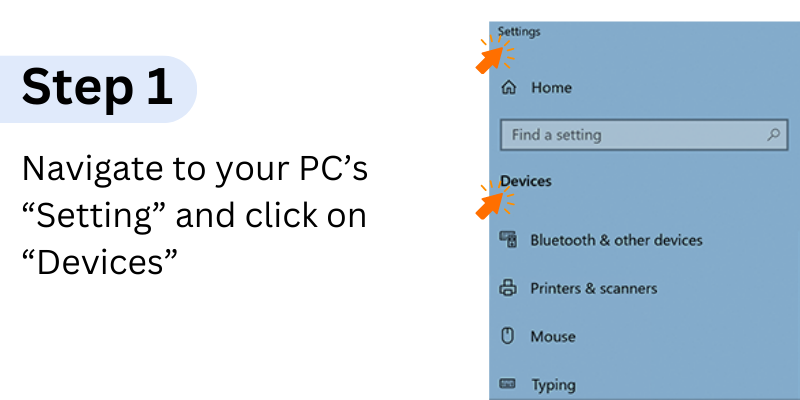
- Click on “Settings” and then on “Devices.”
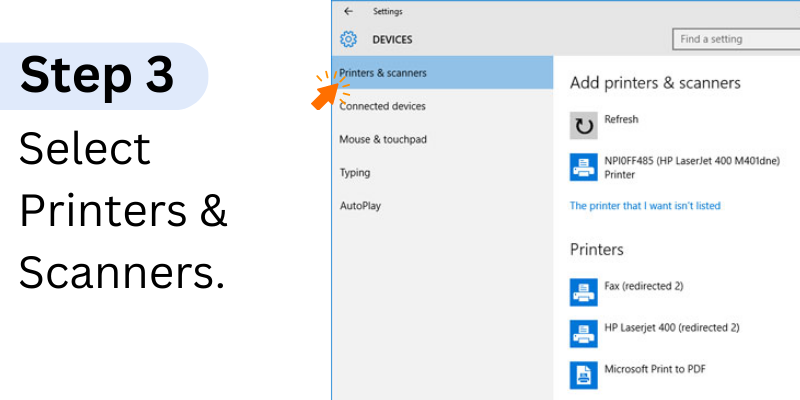
- After that, select Printers & Scanners.
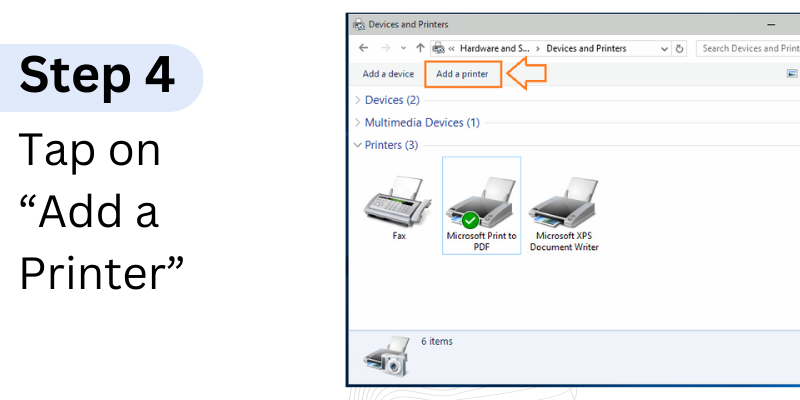
- Tap on “Add a Printer”
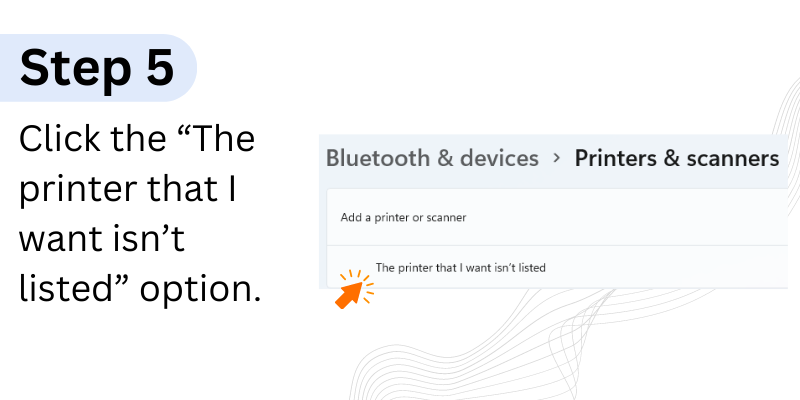
- Click the “The printer that I want isn’t listed” option.
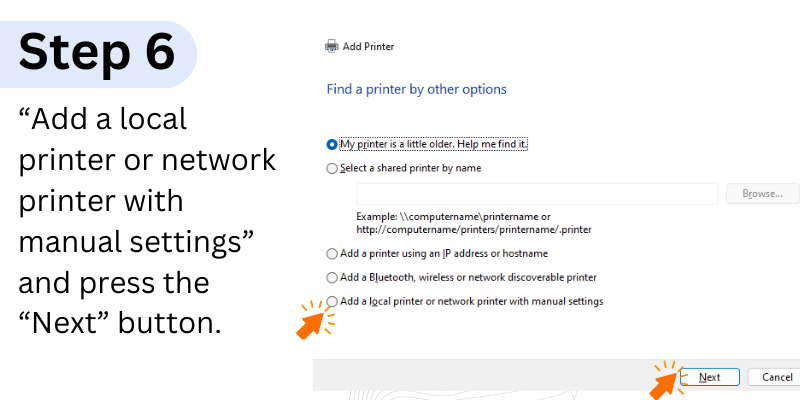
- To complete the process, select “Add a local printer or network printer with manual settings” and press the “Next” button.
Connect A Printer Using An IP Address In Windows 10
Here are the procedures to connect a Printer using an IP address in Windows 10 in addition to adding your printer manually.
- Navigate to your PC’s “Setting” and click on “Devices”
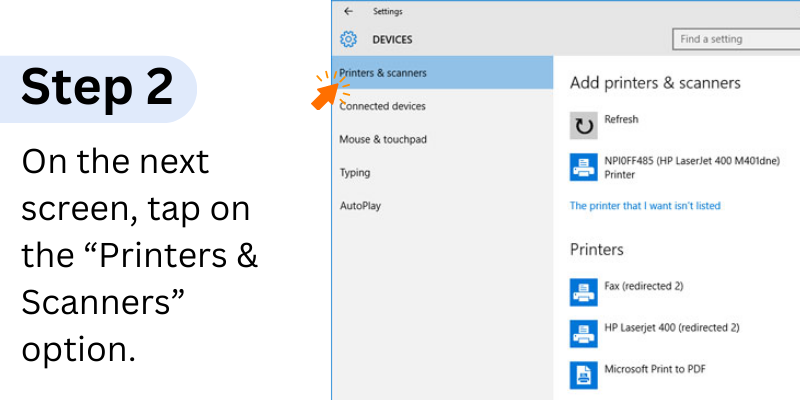
- On the next screen, tap on the “Printers & Scanners” option.
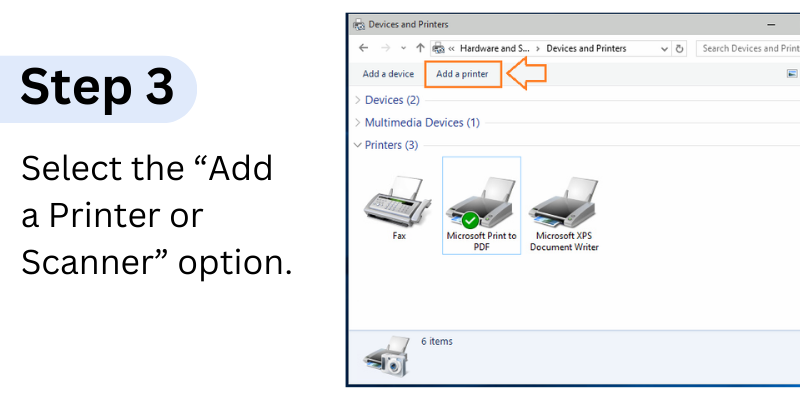
- Select the “Add a Printer or Scanner” option.
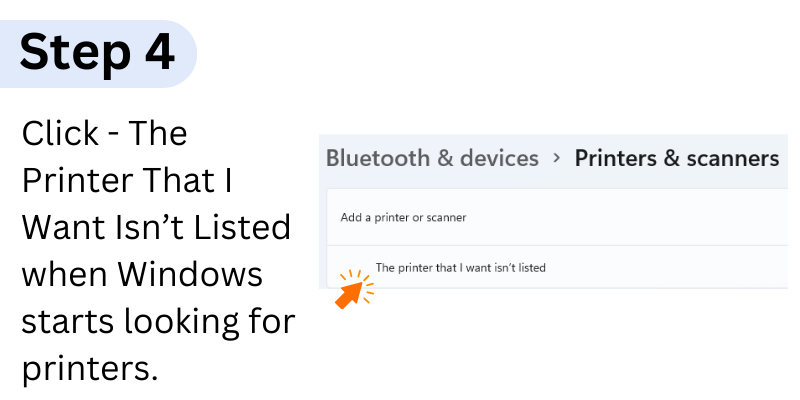
- Click The Printer That I Want Isn’t Listed when Windows starts looking for printers.
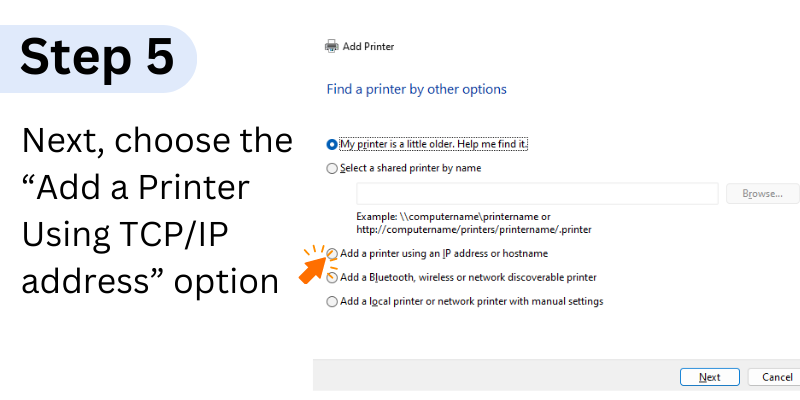
- Next, choose the “Add a Printer Using TCP/IP address” option
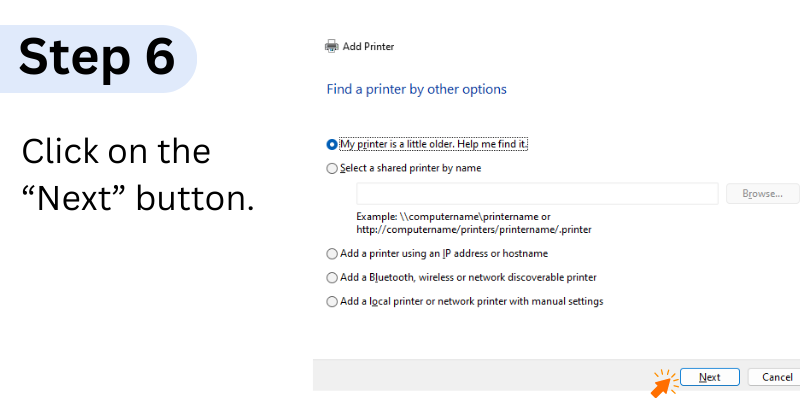
- Click on the “Next” button.
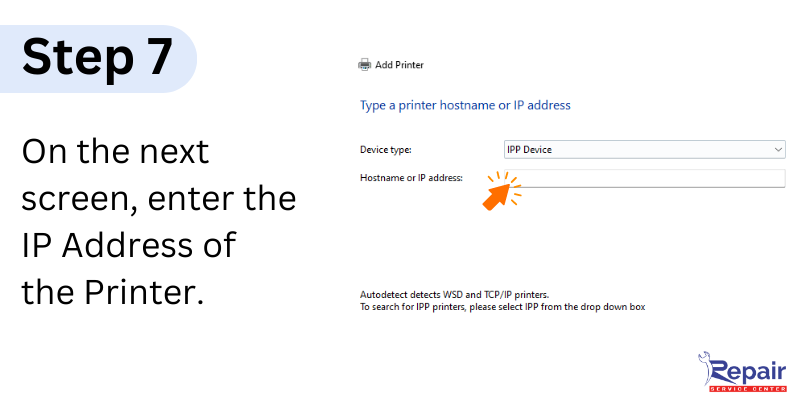
- On the next screen, enter the IP Address of the Printer.
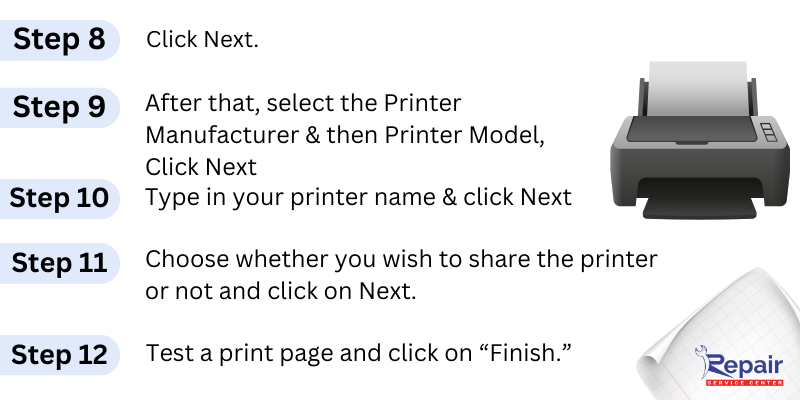
- Click Next.
- After that, select the Printer Manufacturer & then Printer Model.
- Click Next.
- Type in your printer name & click Next
- Choose whether you wish to share the printer or not and click on Next.
- Test a print page and click on “Finish.”
Connect a Wireless or Network Printer To Your Windows 10 Computer
A network or wireless printer lets multiple computers share a common printer at your home or workplace. If the printer isn’t installed automatically, you’ll need to try to set it up yourself. Find below steps to learn how to add a network printer in windows 10:
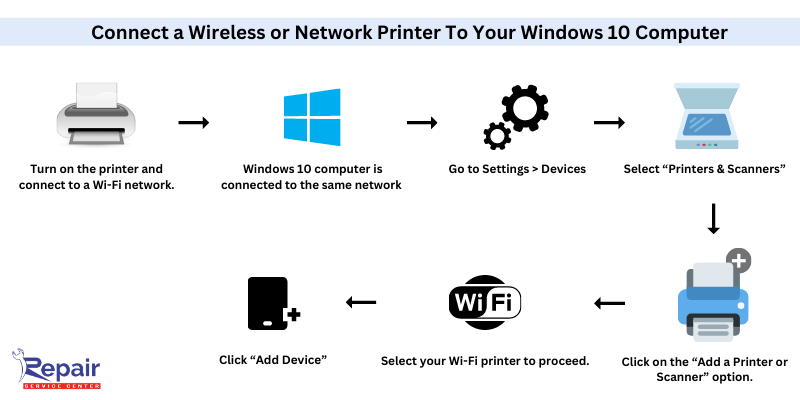
- Turn on the printer and connect to a Wi-Fi network.
- Make sure your Windows 10 computer is connected to the same network.
- Go to Settings > Devices
- After that, select “Printers & Scanners”
- Next, click on the “Add a Printer or Scanner” option.
- Select your Wi-Fi printer to proceed.
- Now, click “Add Device”
Add A Printer to Mac
For the majority of you, setting up the printer could be difficult. Printers require a unique technique, as opposed to other devices like keyboards, mice, and AirPods that you frequently connect to your Mac.
Connect a Network Printer to a Mac Using an IP Address
In this section, you will learn how to connect printers using an Internet Protocol address which is most usually referred to as an IP address. Following are the guidelines you must consider:
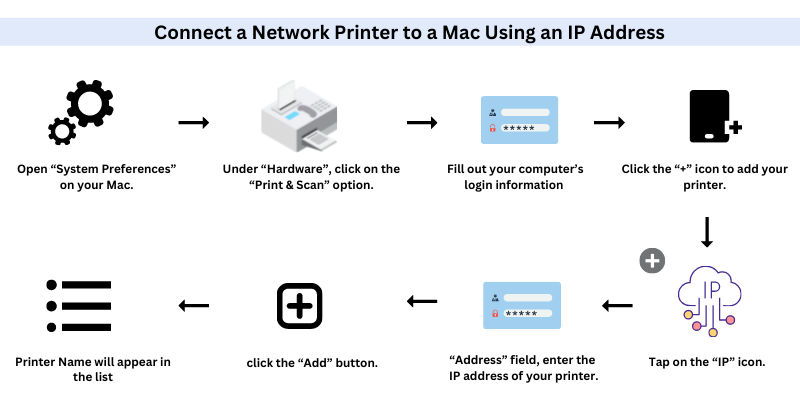
- Open “System Preferences” on your Mac.
- Under “Hardware”, click on the “Print & Scan” option.
- Click next, and fill out your computer’s login information (if prompted).
- Click the “+” icon to add your printer.
- Tap on the “IP” icon.
- Next, in the “Address” field, enter the IP address of your printer.
- After filling in all the details, click the “Add” button.
- The printer’s name you just added must appear in your printer list.
Connect a Wireless Printer to Mac via Wi-Fi
To add a wireless printer to Mac through Wi-Fi, first, you have to press the Wi-Fi button on your printer and the WPS button router in order to connect your printer to your Mac’s Wi-Fi network. After that, proceed by following the directions below.
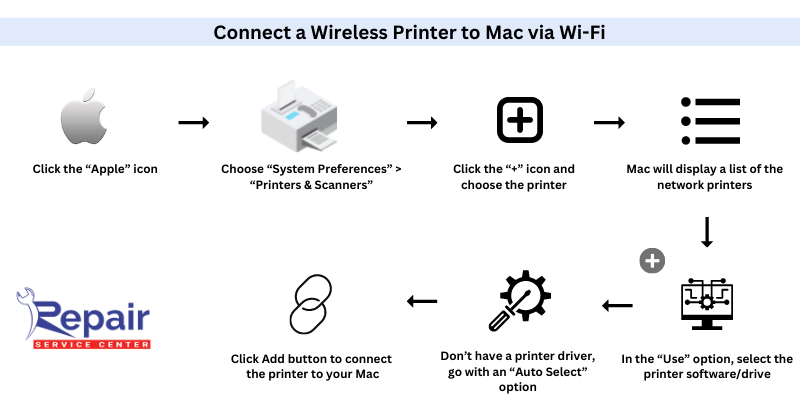
- Click the “Apple” icon on the top right corner of your computer.
- Choose “System Preferences” > “Printers & Scanners”
- Click the “+” icon and choose the printer you want to connect to.
- Your Mac will display a list of the network printers it has identified.
- Now, in the “Use” option, select the printer software/driver for your printer.
- If you don’t have a printer driver, go with an “Auto Select” option to have a try.
- Finally, click Add button to connect the printer to your Mac.
Add Printer to Mac through USB
If your printer lacks networking or Wi-Fi capabilities, this section will show you how to connect it to a Mac via a USB cable. To learn the procedure, follow the steps below.
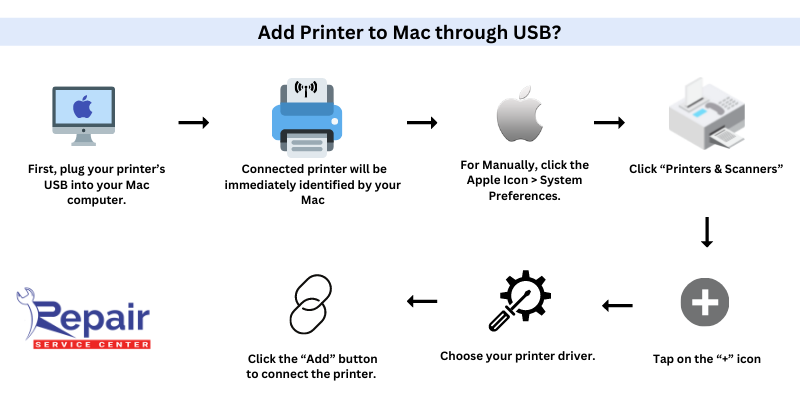
- First, plug your printer’s USB into your Mac computer.
- The connected printer will be immediately identified by your Mac, and the appropriate printer driver will be downloaded.
- You can also manually connect the printer. For that, click the Apple Icon > System Preferences.
- After that, click “Printers & Scanners”
- Tap on the “+” icon to select your targeted printer.
- Choose your printer driver.
- Finally, click the “Add” button to connect the printer.
Bottom Line
You can experience difficulties setting up your printer to print a document when using a Windows PC and Mac for your print jobs. There are numerous different types of printers on the market, and each one denotes unique features. Therefore, in order to achieve professional work that runs smoothly, having an in-depth understanding of all the setup procedures is necessary.
I certainly hope that this blog has given you a clear understanding of how to connect a printer to your Windows 10 or Mac. Call the closest Printer Service Center if you’re still puzzled.
FAQs Of How to Add a Printer in Windows 10 and MAC
Q.1. Why is my Mac not adding my printer?
Ans. If the printer isn’t listed among the available printers on your Mac and you can’t add it, it might be off, or your Mac might be currently connected to a different network.
Q.2. How do I get my Mac to find my printer?
Ans. Go to Apple Menu on your Mac > System Preferences > Printers & Scanners > your printer must be there in the given list.
Q.3. How do I print from Mac to Windows?
Ans. Choose Apple Menu on your Mac > System Preferences > click “Printers & Scanners” > click the add button (+) at the bottom of your printer list > tap on the Windows button. Now, you will see a network browser listing the windows workgroups on your network. Select the printer from the network browser and click Add.
Q.4. How do I connect my HP printer to my MacBook air?
Ans. Click on the Apple symbol on the top left corner of your MacBook Air > System Preferences > Printers & Scanners > Click on the plus (+) sign to add a printer > A new window will open > click on the “IP” icon and fill out the information > Add the printer to your MacBook Air > It should appear in your printers list once recognized.
Q.5. How do I get my computer to recognize my printer?
Ans. If your computer is failing to recognize your printer, you may try these steps:
- Restart the printer.
- Remove the printer’s plug from the outlet and plug it back in again to test if it works this time.
- Make sure the printer is perfectly set up or connected to your computer.
Q.6. why can’t I find a printer on my network?
Ans. If you can’t find the printer on your network, it could be caused by several factors including disabled windows settings, when the printer has not been added to the home group or is not connected to the network accurately, and when the latest updates are required.
Q.7. where do you find the IP address on your printer?
Ans. Go to Control Panel > Hardware & Sound > Devices & Printers > Right-click on your printer model > select Properties > navigate to the Web Services tab (if only three tabs appear) or go with the “Ports” tab (if five tabs appear).
Q.8. How do I connect two computers to one printer using a USB?
Ans. To connect two PCs to a single printer via USB, follow these steps:
- First, shut down the printer and both computers.
- Now, you have to plug 2 USBs into the input jacks.
- Connect the USB cables’ opposing ends to an available USB port on each computer.
- Connect the USB hubs out jack to the printer’s USB port on the back.
- Turn on your printer.
- Wait until each computer recognizes the printer & shows the message “New Hardware Detected”
Q.9. How do I add a network printer using the IP address Windows 10?
Ans. Using Start Menu, Go to Control panel > Devices & Printers > click Add a Printer > select “The printer that I want isn’t listed” option > choose “Add a local printer or network printer with manual settings” option > tap Next > choose the “create a new port” option” > choose “Standard TCP/IP Port” > click Next > Under Hostname or IP address, type in the printer’s IP address you want to connect to.
Q.10. how do I set up a shared printer on a Mac?
Ans. Navigate to “System Preferences” of your Mac > Network > Click the “advanced” button > click the “lock” icon > enter your login credentials to make changes > click the “Wins” tab > in the workgroup field, enter the name of the Windows workgroup (your Mac must have the same workgroup name) > click “OK” & “Apply.”
Q.11. how do you add a printer that isn’t showing up?
Ans. If your printer is not showing up in the printer’s list, you may add it manually by opening Settings on your computer > Go to “Bluetooth & devices” > Printers & scanners > select “Add Device” > wait a few seconds for Windows to identify the printer > select the “Add device” option.