
How to Setup Epson Printer Step-by-Step
If you are the one who bought an Epson Printer recently, trust me, it is really worth it and never going to disappoint you through its services. Although to use your printer in an appropriate way, you must know about the Epson Printer Setup that will help you operate it well.
If you are one of those who need to know How to set up a new Epson printer, then do not worry. In this blog, we will thoroughly discuss all the methods to Connect your Epson printer to a Windows computer, Mac, laptop, Wi-Fi, and so on.
Let’s Begin With the Epson Printer Setup and Installation

The steps for configuring your Canon printer are simple and included:
- Unboxing Epson Printer
- Installation of Print Head
- Installation of Ink-Cartridge
- Epson Printer Driver Download and Installation
1: Unbox your Epson Printer
To accomplish the absolutely perfect Epson Printer Setup, let’s get started with the process of carefully taking your Epson Printer out of the box and assembling all the related accessories such as power cords, ink cartridges, etc.
Follow the below-given steps to unbox your printer.
- Gently take the printer from the box.
- Keep it on a flat and horizontal surface and remove its cover.
- After that, connect the power cord’s other end to the computer’s USB port and the other end to the printer.
- To run the printer, press the power button.
- Configure the control panel to your preferences.
- Gather several A4-size printing sheets, and then fill the input tray with enough paper.
{Note: To comprehend how to unpack and Set up your Epson Printer, read the manual that was provided with your printer.}
2: Print Head Installation

After unboxing your printer, it’s time to install and align the print head as a secondary process.
Here’s how you can install the print head for the first time:
- Remove the print head’s packaging.
- Take off the print head’s orange protective cap and throw it away.
- Firmly pull up on the Print Head Lock Lever until it stops.
- Carefully insert the print head.
- Push the print head into position to keep it there, and then slowly lower the print head lock lever.
- Verify that the Print Head is properly placed.
You might need to align the print head using the control panel if your printouts start to look grainy or fuzzy.
Here’s how to align the print head:
- First, load a few sheets of plain paper into the main tray.
- Now, press Home and select the Setup option.
- After that, select the “Maintenance” option.
- Press OK.
- Thereafter, select “Head Alignment” and press OK.
- Press the Start button.
- Verify the printed alignment pattern.
- In each set, identify the pattern with the fewest obvious vertical lines.
- Press “#1” on the screen.
- Now, select the number of the best pattern in the first set.
- Press OK.
[Note: Pick the nearest pattern if none are in alignment. When you’re finished, print a second alignment sheet and inspect it.]
- Press the OK button when you are done.
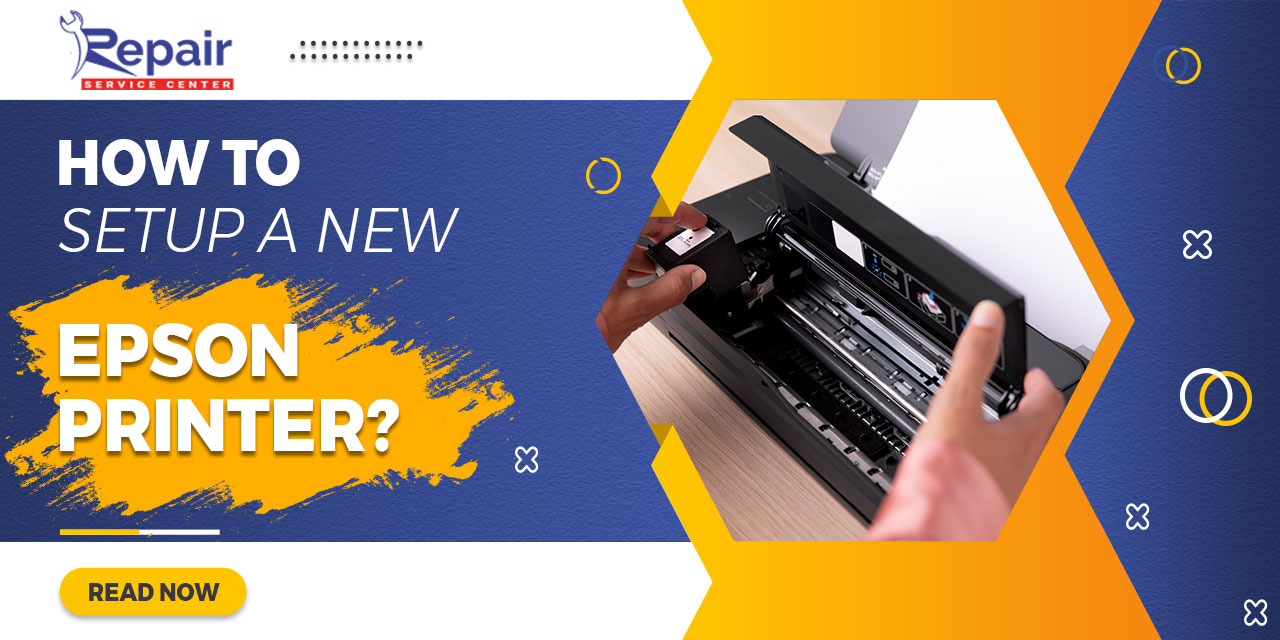
Third Step: Ink-Cartridge Installation

Once you are successfully done with the process of unboxing and installing the print head for your Epson printer setup, now all you need to learn is how to install the ink cartridge to your Epson printer. Let’s see how:
- First of all, lift the lid of your Epson printer very carefully.
- Unwrap the new cartridge from the packages.
- Insert them inside the ink slots properly.
- Once the ink cartridges are installed, close the lid of your printer.
In this way, you can effortlessly install the new printer cartridges. However, always remember that all printer components are sensitive. Thus, don’t damage them during installation.
Fourth Step: Epson Printer Driver Download and Installation

In this step, we will teach you how to download and install the Epson printer driver using numerous methods mentioned below:
- Epson Printer Driver Download and Install via Official Website.
- Epson Printer Driver Download and Install via Device Manager.
- Epson Printer Driver Download and Install via CD/Disk.
Let’s go through each of the aforementioned techniques in considerable detail below:
Epson Printer Driver Download and Install via Official Website

One of the best methods to install an Epson printer driver on your Windows operating system is manually downloading it from the official website. Below you will find the step-by-step instructions for the same.
- Visit the official website of Epson.
- Navigate to the “Support” option.
- Choose the “Printers” option from the drop-down menu.
- After that, enter your printer model name in the box provided on the screen.
- Tap on the “Search” option.
- Now, select your OS and click on the Download button.
- Once the download is complete, double-click on the setup file.
- Thereafter, you need to follow the on-screen instructions to install the Epson printer driver.
- When you are done with the installation process.
- Restart your computer.
Epson Printer Driver Download and Install via Device Manager

You can also download drivers from Epson’s official platform using the device manager. Below, we have described detailed instructions on how to use Device Manager in order to download the Epson printer driver for Windows. Continue reading to learn the steps:
- Press the Windows + X key on your computer.
- After that, from the quick access menu, select Device Manager.
- In Device Manager, You will see a list of all of your hardware devices alphabetically arranged.
- Scroll down and click on the “Printer” or “Print queues” in order to expand the category.
- Now, right-click on the Epson printer and choose “Update Driver” from the pop-up menu to check for driver updates.
- Click on the “Search automatically for updated driver software” option.
- Now, the update wizard will scan, download, and install the Epson printer driver on your system.
- Once the installation is complete, restart the computer.
Epson Printer Driver Download and Install via CD/Disk

You can use the CD or disk to install the Epson driver for windows 7 or higher OS system versions. All you need to follow the below-mentioned steps to do it:
- Turn on your printer.
- Now, insert the Epson printer CD into your computer.
- After that, you have to execute the “Autorun.exe” file.
- Click on Confirm or Yes when the prompt display – “do you wish to open/launch the installer”
- Accept the agreement and click on Next.
- Now all the driver files will be copied from the CD and moved to your device.
- After that, the prompt will now you will be asked how you want to connect the Epson printer to your computer. You can either select “connect it via a wired or wireless network” or “use a USB cable”.
- Now, put one end of the USB cable into the USB port of your computer and the other one into your Epson printer.
- Wait for a while and let your system detect your printer.
- Once detected, click on “Next”
- After that process is complete, click on Finish.
All of the methods discussed for installing a printer driver are key to developing the optimal Epson Printer Setup. Let’s continue by talking about how to install an Epson printer on a Windows or Mac computer.
How to Install Epson Printer to Your Windows & Mac Computer?
Regardless of whether you use Windows or Mac, you can easily find a step-by-step installation guide right below:

Set Up Epson Printer for Windows
- Turn on your printer.
- Now, go to Epson’s official website.
- Choose the “download and install the Windows version of Epson Connect Printer Setup Utility” option.
- Confirm and accept the agreement.
- Click the “Next” button.
- Click the “Install” button.
- After that, choose the product on your menu and then click next.
- Select the “Printer Registration” option and click the Next button.
- Click Agree > Next.
- When you see “Register a printer to Epson Connect”, Click OK.
- Now, you can create a new account or sign-up with an existing one.
- Finally, click on the “Close” button.
In this way, you can install your Epson printer on your Windows computer. But don’t worry if you use a Mac; we also offer an extensive installation and setup guide for that operating system. Read on below to understand how you can do it:
Set Up Epson Printer for Mac:

- First, turn on the printer.
- Now, go to Epson’s official website.
- Choose the “download and install the Windows version of Epson Connect Printer Setup Utility” option.
- Click Continue
- After that, click Continue > Agree
- Click Install > Close.
- Select your printer and click Next
[Note: If there’s no window pop-up, you can install Epson Printer by opening the Finder > Application > Epson Software > Epson Connect Printer Setup]
- After that, choose the “Printer Registration” option.
- Click Next > OK
- Scroll down and confirm (tick) the “I accept the Terms and Conditions” checkbox.
- Click Next.
- Now, you can create a new account or sign-up with an existing one.
- Finally, click on the “Close” button.
How to Connect Epson Printer to Wi-Fi?

Before you proceed with the process, you have to verify all the below-mentioned points:
- Know your Wi-Fi network name and password.
- Your Epson Printer is set up with an ethernet or wireless connection.
- Don’t forget to download and install the Epson Connect Printer Setup Utility.
Follow the steps below to learn how you can connect your Epson printer to Wi-Fi:

- Turn on your Epson printer.
- Now, press the “Home” button on your printer’s control panel.
- After that, select the Wi-Fi setup using the arrow button.
- Press OK.
- Now, select the “Wi-Fi setup wizard” and press the OK button.
- Now, choose your network name on the screen.
- Enter your network password and press OK.
- Finally, your printer has now been connected to the Wi-Fi successfully.
How to Connect Epson Printer to an Android Mobile Phone?

Before proceeding to the process of how to set up the Epson printer on an Android mobile phone, you have to confirm the steps mentioned below:
- First, Download & install the “Epson iprint official app” from the google play store.
- Second, confirm that your printer and Android device are both linked to the same wireless network.
Here’s how to connect your Epson printer to android:
You can connect your Epson printer to your Android phone using one of two techniques I’ve listed below:
- Connect Epson Printer Using IP Address
- Connect Epson Printer Remotely
Let’s get into more depth about the two approaches:
Connect Epson Printer Using IP Address
- Open the Epson iPrint app on your mobile.
- After that, tap on the “Printer is not selected. Tap here to select a printer” option.
- Now, tap the “Manual IP” tab.
- Tap Add and enter the IP address for the printer.
- Tap Done.
- Finally, you can print using the iPrint app on your phone.
Connect Epson Printer Remotely
- Open the Epson iPrint app on your mobile.
- After that, tap on the “Printer is not selected. Tap here to select a printer” option.
- Tap on the “remote” tab.
- Click Add and then Yes.
- If you don’t have an email address for your printer, tap “Get Email Address”
- After that, simply tap your printer on the list.
- Now, in the browser screen that displays, tap “Advanced”
- Tap on the “Proceed to [your printer’s IP address]”
- Click register to continue.
- Tap accept and then Next.
- Tap OK.
[The Epson Connect website appears]
- Enter your email address and password.
- Tap Finish
- Copy your printer’s email address on the screen and paste it into the Printer’s Email Address field in the Epson iPrint app.
- Tap Done
- Finally, now you can print using your android phone.
Do You Still Need Help Configuring Your Epson Printer?
Are you still having trouble with the Epson printer setup? If none of the aforementioned alternatives worked, all you need to do is seek guidance from the closest Epson Repair Service Center. They can assist you in whatsoever you need, from basic setup to fixing serious issues with your gadget!
FAQs Epson Printer Setup
Q.1. Why is my printer asking for a password?
Ans. When your printer asks for a password, a possible reason is your printer is attached to a Wi-Fi network that may be secured via WPA or other encryption types.
Q.2. How do you reset your printer password?
Ans. In order to reset your printer’s password, you need to follow the steps below:
- Open the control panel.
- Navigate to “Devices and Printers”
- Right-click on your printer model.
- Click Properties > Reset Password
- Enter a new password and save changes.
Q.3. Where do you find the IP address on your printer?
Ans. Open Control Panel > Hardware and Sound > Devices and Printers > Right-click the printer > select Properties. After that, look in the “Web Services” tab for your IP address if only three tabs appear. Alternatively, look in the “Ports” tab for your IP address if five tabs appear.
Q.4. Why is my computer not finding my Epson printer?
Ans. When your computer does not recognize your Epson printer, it is likely caused by a bad interface card on the printer, a faulty USB cable, having the wrong driver installed on the computer or an improper interface type selected in the printer settings.
Q.5. How do I get my wireless Epson printer back online?
Ans. Select Start > Settings > Devices > Printers & scanners > select your printer > Open queue. Under Printer, make sure “Use Printer Offline” is not selected.